At-Home Lash Extension Using Nanolash DIY Lash Extensions – My Opinion and Product Review
Just like all girls out there, I like it when my eyes are defined, and that’s why I always try to enhance them with makeup. Mascara proves not enough, though. I have short and thin lashes. One day I decided to give at-home lash extensions a try, using the lash wisps DIY Lash Extensions.
What’s included in the lash extension kit Nanolash DIY Eyelash Extensions?
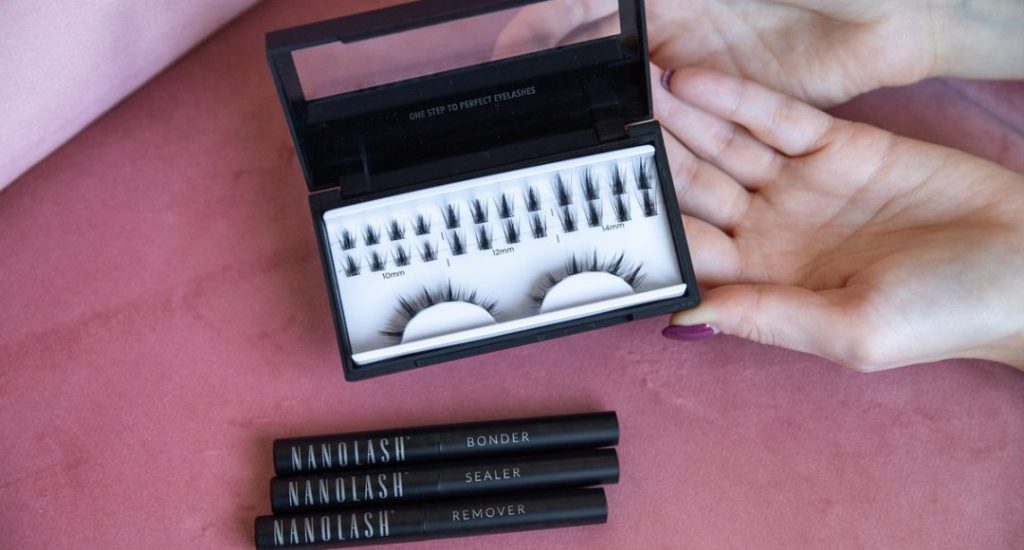
When applying lash extensions myself for the first time, I used a complete lash cluster set by Nanolash. Why have I picked the Nanolash DIY Eyelash Extensions? The kit contains all essentials for lash extension at home. I was sure I would have all necessary products for the treatment.
If you like, you can buy those wisps alone, however, I think such a full set is much more comfortable if you’re a beginner in at-home lash extensions. What’s in the kit?
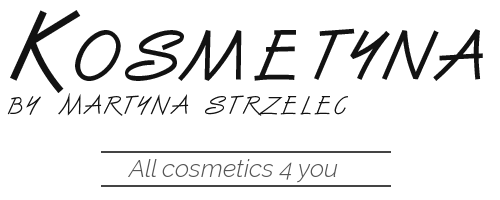
- Lash clusters – as many as 3 different sizes (10, 12 and 14 mm).
- A precision applicator.
- A glue, aka bonder.
- A sealer for removing the sticky coating.
- A remover for taking the lashes off.
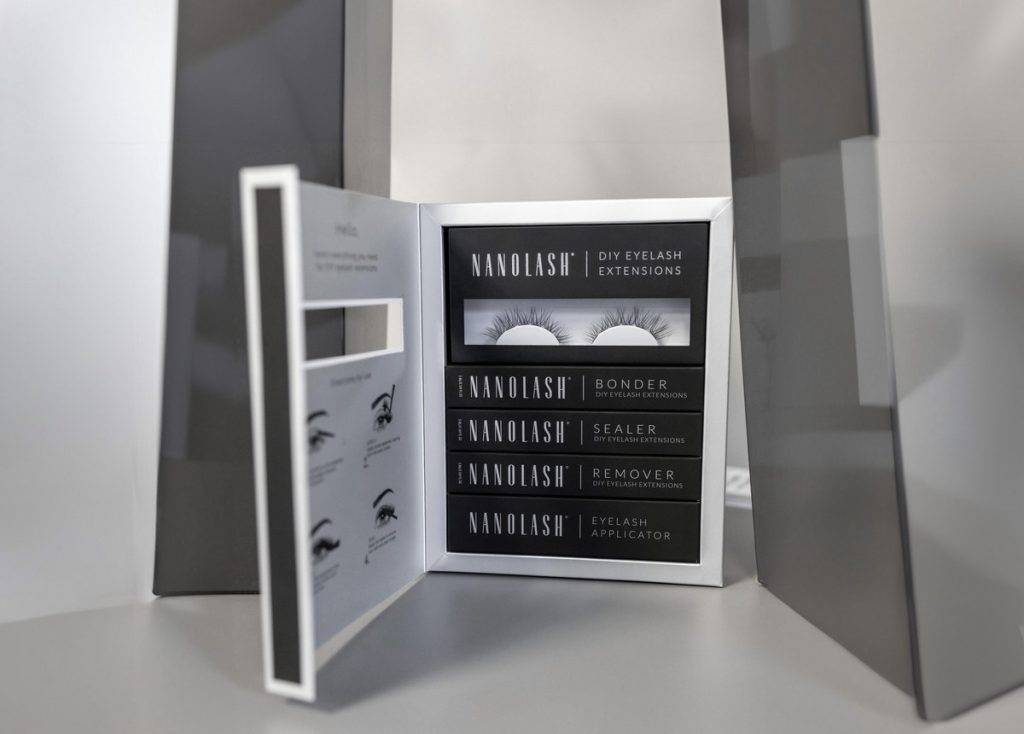
Because I never had such products before, I bought the kit including everything essential for applying lash clusters at home. Which size have I picked? I’m big on bold eye definition and lashes that catch the eye so I figured the 14 mm clusters would make a perfect pick.
How to apply cluster lashes using the Nanolash DIY Lash Extensions?
First I was terrified – I had no idea how to apply cluster lashes! After all, I’d never done that before. It proved very easy right off. The precise instructions included in the box led me through the process step by step and that’s why I think this DIY lash extensions kit is the best choice. How did I apply my wisps?
- I cleansed the eye area and dried it well using a paper towel. I applied a coating of the bonder all over the lashes and waited for around 30 seconds so that it is tacky enough.
- I applied the clusters starting at the base of lashes – more or less one millimeter away from the lash line. I made sure to do it slowly and carefully so that they’re attached evenly.
- I pressed each section using the precision tweezers to make sure all clusters cling well.
- Finally I applied the sealer which removes the stickiness from the lashes right away.
What do I think about the DIY Lash Extensions?
I wasn’t sure whether lash extensions clusters would suit me but this product cleared up all doubts immediately. The cluster lashes by Nanolash are just perfect for at-home use and for creating natural lash styles. That’s the key thing – let’s face it, nobody wants unnatural and funny-looking lashes.

The wisps look very authentic because they aren’t identical. They have a subtle curve and curled endings. They make my eyes appear bigger! I knew I could go out and rock my new look right off. My besties kept asking about my lashes.
On top of that, these proved to be super long-lasting lash clusters! Not just one-off thing. On the first day of wear, before sleep, they still looked great and stayed on so I figured I would try leaving them on for the night. I gently removed my makeup and went to sleep. All in all, the clusters stayed on for 5 days!
The DIY Lash Extensions from Nanolash are my number-one lash clusters and I’m not gonna get other wisps as they are top quality and long-lasting. I can create some amazing lash looks with those gems.


